
Plan the system before the shopping cart
Auxiliary lights are one part of an installation. The mount holds them in position, the electrical components power and control them, and the routing keeps those components clear of moving or hot parts. Choosing those pieces together can prevent a purchase that looks complete but cannot be installed as intended.
Start with the vehicle’s exact year, make, model and relevant trim. Then record the light and mounting-kit part numbers. Download the instructions for each before ordering. If a product description and the installation instructions appear to disagree, resolve that difference with the manufacturer before proceeding.
This guide is a planning checklist. It does not supply a universal wiring diagram, fuse value, cable size or tightening torque. Those details belong to the exact components and vehicle in front of you. Use their documentation for the installation procedure, including the required steps for isolating power.
Confirm what the kit actually includes
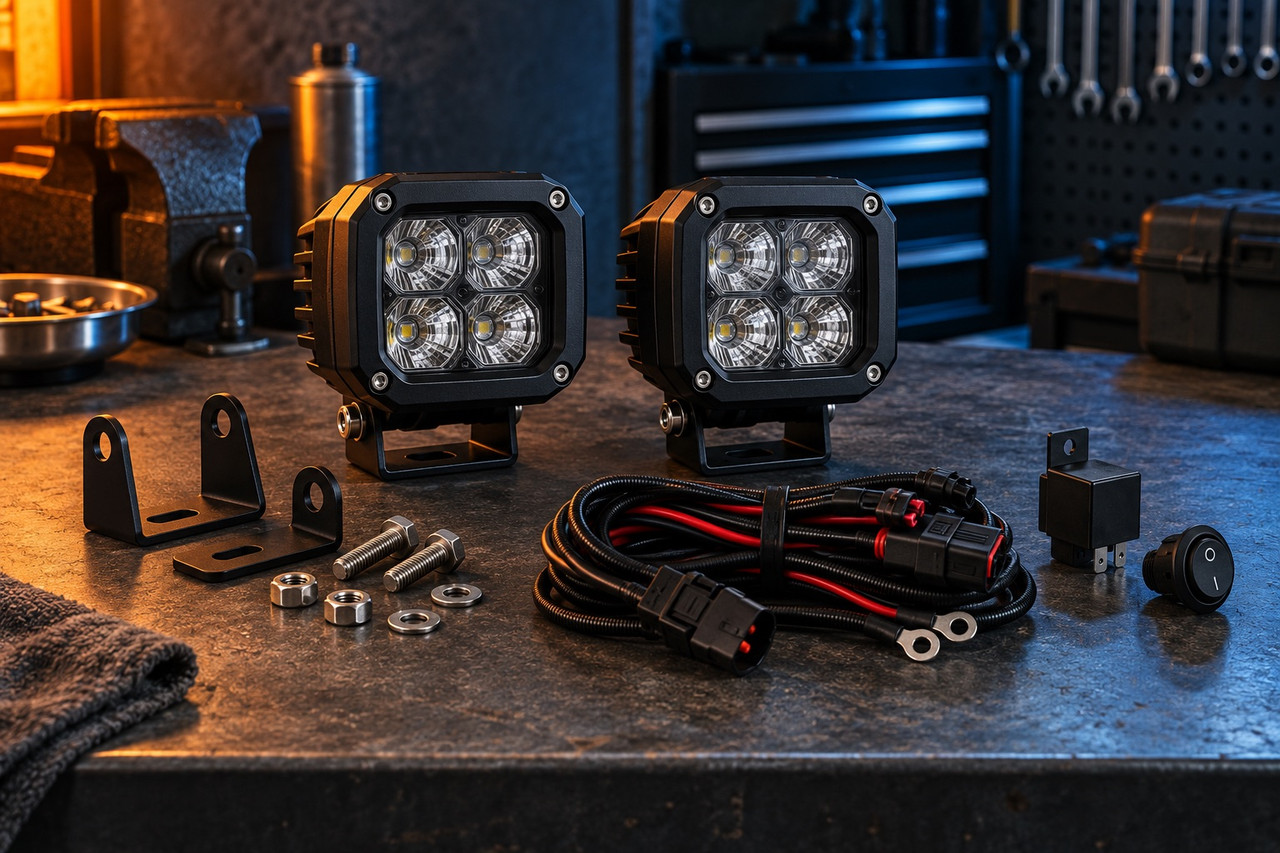
A pair of lamps is not necessarily a complete wiring kit. Check the included-parts list for mounts, hardware, harnesses, connectors, switches and any required controller. Some products use an existing compatible controller; others need a separate harness or interface.
Make two lists: what the manufacturer includes and what the instructions require. The difference is your remaining shopping list. Do not infer inclusion from a lifestyle photograph or from the word “kit” alone. Where an existing part will be reused, confirm that the instructions allow it and that its condition is suitable.
Keep the part numbers with your order notes. This makes it easier to distinguish a missing component from an incompatible one and helps a supplier answer a specific question. It also gives you a useful record if you change the lighting setup later.
Check the mounting arrangement
Locate the approved mounting points and the brackets intended for them. Examine the proposed position with the vehicle’s other accessories in mind. A light can fit its bracket while the combined assembly conflicts with a windshield, fairing, rack, protection bar or body panel.
On a motorcycle, the installation instructions may require clearance checks through steering movement. On an ATV or UTV, the relevant checks may involve doors, bodywork or other accessories. Follow the model-specific procedure and account for the full movement the manufacturer identifies. A stationary photograph cannot establish that clearance.
Use the specified hardware and tightening procedure. Do not guess a torque from the size of a fastener or transfer a value from a different bracket. If the instructions identify a particular thread treatment, washer arrangement or inspection interval, include those requirements in the plan.
Confirm the electrical interface
The vehicle’s available accessory connections and the light’s requirements need to agree. Identify the intended power source, operating voltage, current requirements and control method from the documentation. A connector that physically fits is not by itself proof of electrical compatibility.
A vehicle-specific interface may provide functions that a simple switch does not. Equally, not every light needs an integrated controller. Choose the arrangement supported by both the light manufacturer and the vehicle application. Avoid assuming that a harness advertised for a model family supports every year or electrical configuration in that family.
Document the required circuit protection rather than estimating it from the lumen rating. Lumens describe light output; they are not an electrical-load specification. Where the instructions do not clearly identify the required arrangement, ask for clarification before buying substitute electrical components.
Map the cable route and controls
Plan where the harness, connectors and controller will sit before securing them. Follow the manufacturer’s guidance for protection, attachment points and clearance from heat, abrasion and moving components. Check access for future service as well as the initial installation.
Decide where the rider or driver will operate the controls. The chosen position must follow the product’s mounting instructions and preserve the vehicle’s normal controls. Include any switch bracket or extension specifically required for that arrangement in your parts list.
Avoid treating excess cable as an afterthought. The instructions should guide how it is routed and secured. Keep identification labels and connectors accessible where the design permits, so troubleshooting does not require dismantling unrelated equipment.
Finish with setup and inspection
Once the system is installed according to its instructions, complete the specified functional checks and aiming procedure. DENALI publishes an aiming guide for its auxiliary driving lights; other products may specify a different method. Use the procedure for the actual lights installed.
Keep the manuals, wiring information and component list together. Record the final setup and any manufacturer-required follow-up checks. If something moves, interferes with another part or behaves unexpectedly, resolve it before use. A complete installation is one whose mounting, power, controls and intended operation have all been checked together.
Browse mounts, wiring and accessories alongside your chosen lights. For product-specific setup, consult the manufacturer’s instructions, such as DENALI’s aiming guide.